Introduction
Many homeowners consider installing a garage ventilation fan themselves to improve airflow and reduce heat, fumes, or humidity in the space. In some situations, installing a ventilation fan can be a manageable DIY project. In others, professional installation may be the safer option.
The difficulty of installation depends on the fan type, electrical requirements, and how the fan will be vented outside.
If you’re unfamiliar with how these systems operate, you may want to start with what a garage ventilation fan is and how it works.
When DIY Installation Is Possible
Some garage ventilation fans are designed for relatively straightforward installation. This is especially true for wall-mounted fans installed directly through an exterior wall.
DIY installation may be possible when:
• The garage has an accessible exterior wall
• The fan includes a plug-in power option
• No new electrical circuit is required
• The installation opening is easy to cut through siding or drywall
• The homeowner has basic carpentry and electrical skills
In these situations, installing the fan may involve cutting an opening in the wall, mounting the fan housing, sealing the exterior vent, and connecting power.
Situations That May Require Professional Installation
Some installations are more complex and may require professional help.
Professional installation is often recommended when:
• The fan must be hardwired into the electrical system
• A new electrical circuit is required
• The fan must be installed through the ceiling
• Ductwork must be routed to the roof or an exterior wall
• The garage structure makes installation difficult
Electrical work in particular may require a licensed electrician depending on local building codes.
You can learn more about wiring considerations in electrical requirements for garage ventilation fans.
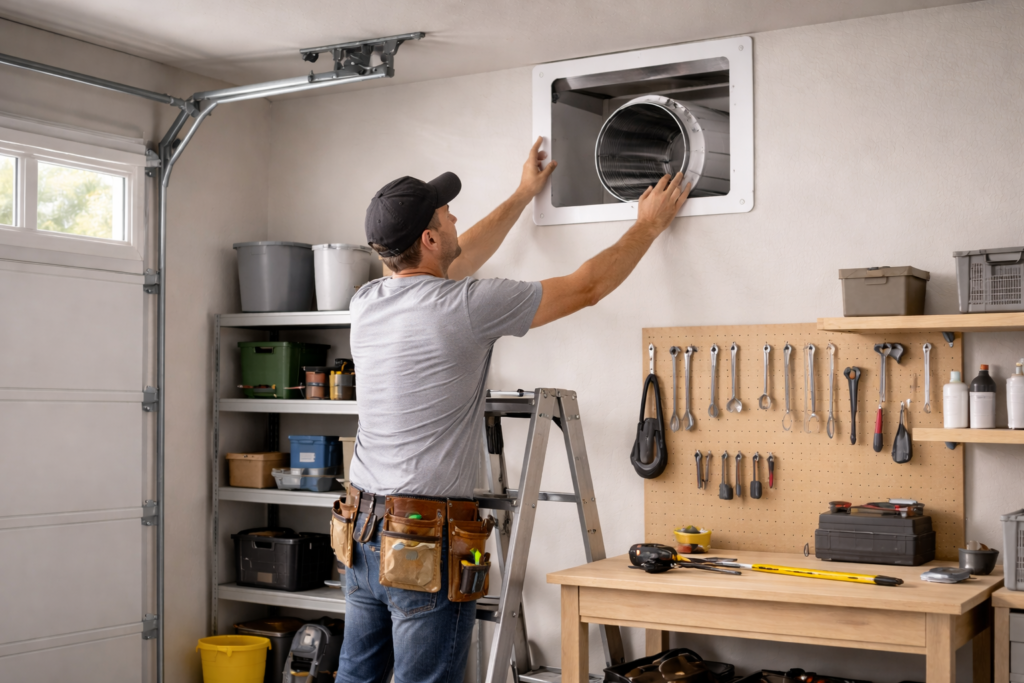
Basic Steps of a Typical Installation
The exact process varies depending on the fan type, but a typical wall-mounted installation often includes the following steps.
1. Choose the Fan Location
The fan should usually be installed high on the wall or ceiling, where hot air tends to collect.
For more guidance on fan placement, see where a garage ventilation fan should be installed.
2. Cut the Opening
An appropriately sized opening must be cut through the wall or ceiling for the fan housing.
Care must be taken to avoid structural framing, wiring, or plumbing.
3. Mount the Fan Housing
The fan housing is secured to the wall framing or ceiling structure to keep it stable during operation.
4. Install the Exterior Vent
The vent cover is installed on the outside wall or roof to allow air to exit the garage while protecting the opening from weather and pests.
5. Connect the Power Supply
Some garage fans plug into a standard outlet, while others must be hardwired.
If you’re deciding between these options, see hardwired vs plug-in garage ventilation fans.
6. Test the Fan
Once installed, the fan should be tested to confirm that it runs smoothly and exhausts air properly.
Tools Commonly Needed for Installation
DIY installation typically requires several basic tools.
These may include:
• Drill or impact driver
• Jigsaw or reciprocating saw
• Measuring tape
• Level
• Caulking or weather sealant
• Screwdrivers
• Safety gear such as gloves and eye protection
The exact tools depend on the fan model and installation location.
Potential Challenges During Installation
Garage ventilation fan installation can present several challenges.
Common issues include:
• Cutting through exterior siding or masonry
• Avoiding structural framing
• Ensuring proper airflow direction
• Preventing air leaks around the fan housing
• Installing the fan at the correct height
Poor installation can reduce airflow efficiency and may allow outside air or moisture to enter the garage.
Installation Cost Comparison
Some homeowners choose DIY installation to save money. However, depending on the project, professional installation may not be extremely expensive.
Costs vary depending on the complexity of the installation.
For a breakdown of typical installation expenses, see garage ventilation fan installation costs.
Conclusion
Installing a garage ventilation fan yourself can be a manageable project when the installation is simple and electrical requirements are minimal. Wall-mounted fans with plug-in power options are usually the easiest for homeowners to install.
However, more complex installations involving ceiling fans, ductwork, or electrical wiring may require professional assistance to ensure the system operates safely and efficiently.
Carefully evaluating the installation requirements can help determine whether DIY installation is the right choice.
For a complete overview of how these systems work, see our guide to garage ventilation fans.